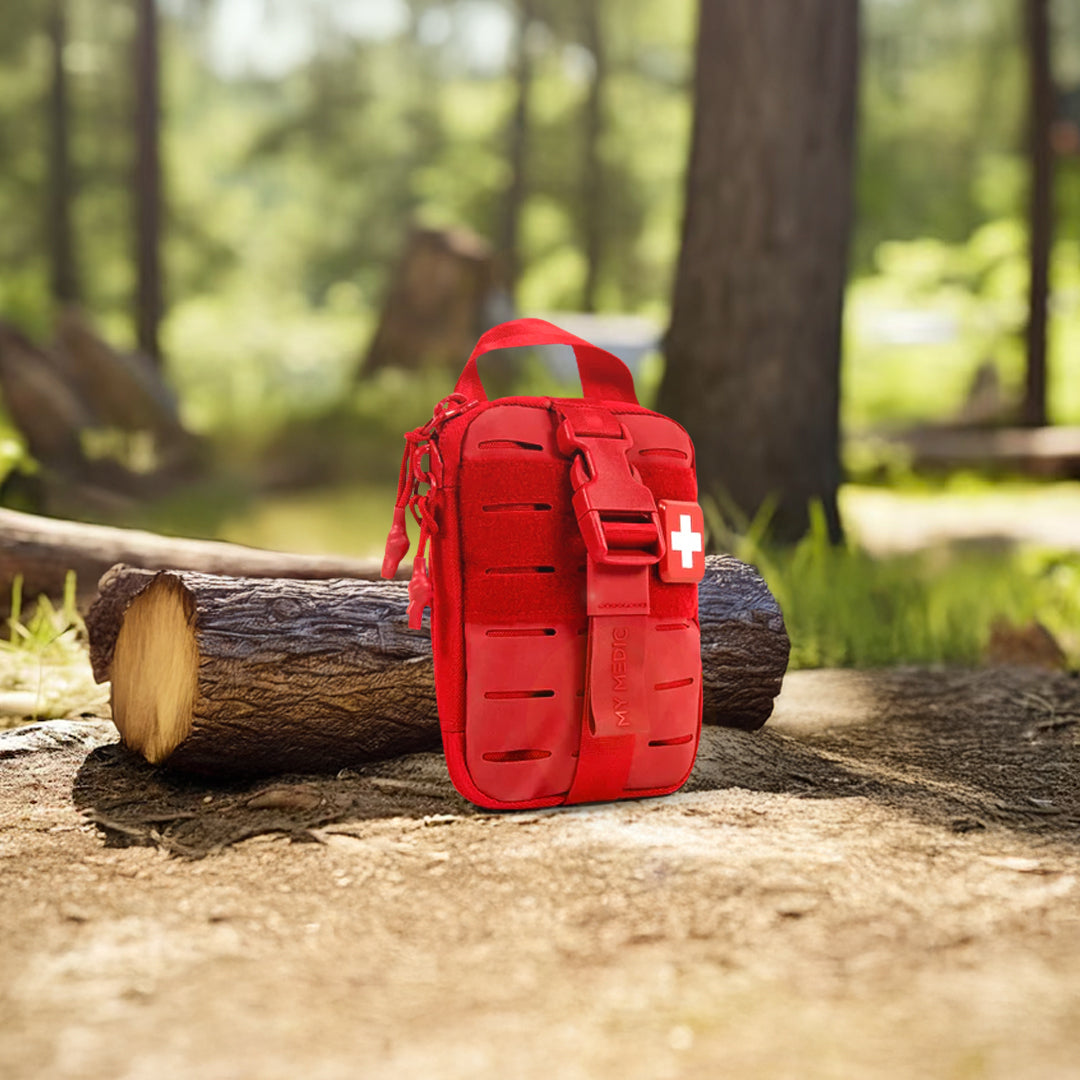
A shelter-in-place kit should hold water, shelf-stable food, a NOAA radio, lighting, a first aid kit, medications, sanitation supplies, and the room-sealing gear most home kits forget: Heavy plastic sheeting pre-cut to fit your windows, doors, and vents, duct tape, and scissors. Keep it in or beside the room you plan to shelter in, and stock at least 72 hours of supplies, since some shelter-in-place orders last a day or more.
“Shelter in place” is one of the more confusing instructions emergency officials give, because it means different things in different emergencies. Sometimes it means staying indoors during a chemical leak with the air sealed out. Sometimes it means staying inside after a radiological incident until radiation levels drop. Sometimes it simply means not leaving home while a dangerous situation outside resolves.
What all of them share is that you stay put, often with little warning, using whatever you already have at home. This guide covers what belongs in the kit, how long you may need it, which room to use for which threat, and how to seal a room correctly when officials tell you to.
What Should Be in a Shelter-in-Place Kit?
A shelter-in-place kit covers the same basics as any home emergency kit, plus a small set of sealing supplies that matter for chemical and radiological events. The table below lists everything by category, with the reason it belongs in the room where you will shelter.
|
Category |
What to include |
Why it matters |
|---|---|---|
|
Water |
One gallon per person per day for at least 72 hours |
You cannot leave to buy more, and tap water may be affected |
|
Food |
Three days or more of no-cook, shelf-stable food and a manual can opener |
Cooking may not be possible, and the kitchen may be outside the sealed room |
|
Information |
A NOAA hand-crank and solar radio with SAME alerts |
Officials announce when to seal, when to ventilate, and when it is safe to leave |
|
Light and power |
Headlamps, a battery lantern, spare batteries, and a charged power bank |
Power may fail, and phones are your link to family |
|
First aid and meds |
A first aid kit and at least a week of prescription medications |
You may not be able to reach a pharmacy for days |
|
Sealing supplies |
Pre-cut plastic sheeting, duct tape, scissors, and old towels for door gaps |
Used to block contaminated air during a chemical or radiological release |
|
Sanitation |
Plastic bags, a bucket with a lid, toilet paper, wipes, and hand sanitizer |
The bathroom may not be inside your sealed room |
|
Comfort and essentials |
Blankets, a change of clothes, glasses, pet supplies, and copies of key documents |
Hours or days in one room go better with the basics |
Build the base from a ready-made survival kit, then fill the gaps from water storage and filtration, Food Rations, First Aid, Emergency Radios, and Power & Light. The sealing supplies cost very little at any hardware store and are the part most households never buy.
The Room-Sealing Supplies Most Home Kits Are Missing
Plastic sheeting and duct tape became a punchline years ago, but they remain part of official shelter-in-place guidance for chemical and radiological releases, because they work for the short period they are meant to be used. The point is not to make a room airtight forever. It is to slow outside air from entering while a contaminated plume passes.
Use heavy plastic sheeting, with official guidance ranging from 2 to 6 mil in thickness, and thick duct tape of around 10 mil. Measure every window, door, and vent in your shelter room ahead of time, cut each sheet at least six inches wider than the opening on every side, and label each one so you know exactly where it goes. Keep the sheets rolled together with the tape and scissors in a bin in the room itself. Doing this work in advance is what turns a frantic 20-minute job into a calm five-minute one.
How Long Should You Be Able to Shelter in Place?
You should be able to shelter in place for at least 72 hours, because the length of a shelter-in-place order depends entirely on the threat. A sealed room during a chemical release is usually needed for only a few hours, and officials are unlikely to recommend staying sealed for more than two to three hours. After a radiological event, the guidance is to stay inside for at least 24 hours unless officials say otherwise, because radiation levels drop sharply during that first day. Severe weather or other emergencies can keep you home for days.
There is also a hard physical limit on a sealed room. Ten square feet of floor space per person provides enough air to prevent carbon dioxide buildup for up to five hours, assuming everyone is resting. For a family of four, that means a room of at least 40 square feet, roughly the size of a small bathroom. When officials announce that the threat has passed, or if you have been sealed for several hours, remove the plastic and ventilate the room, since staying tightly sealed too long becomes its own danger.
Choosing Your Shelter Room: It Depends on the Threat
The best room for sheltering in place is not the same for every emergency, and choosing the wrong one can work against you. Here is how the choice changes by threat.
|
Threat |
Best room |
Why |
|---|---|---|
|
Chemical release |
An interior room above ground level with few or no windows |
Many hazardous chemicals are heavier than air and settle in basements and low areas |
|
Radiological or nuclear event |
A basement, or the center of the building away from outside walls and the roof |
More building material between you and the outside blocks more radiation |
|
Tornado or high wind |
An interior room on the lowest floor with no windows |
Getting low and away from glass protects against flying debris |
|
Other emergencies outside |
An interior room away from windows and exterior doors |
Keeps you out of sight lines and away from glass |
The key contrast is between the first two rows. For a chemical release, go up and in. For a radiological event, go down and in. Decide on both rooms now, while you can think it through calmly, and tell everyone in the household which is which.
How to Seal a Room for a Chemical Emergency
Only seal a room when officials tell you to, or when you can clearly see or smell a hazard outside. When the instruction comes, the sequence matters, and it should take only a few minutes if your supplies are pre-cut.
Bring everyone, including pets, inside. Close and lock all exterior doors and windows, close fireplace dampers, and turn off the heating, air conditioning, and any fans that pull in outside air. Take your kit into the shelter room, then tape the pre-cut plastic over each window, door, and vent, starting at the corners and then sealing every edge. Seal gaps around the door with towels and tape, and cover outlets, switch plates, and pipe openings on exterior walls. Then turn on the radio, stay calm, and wait for instructions.
Never run a generator, gas heater, grill, or any fuel-burning device in or near a sealed room, which would fill it with carbon monoxide in minutes. Battery lights and a charged power bank are the only safe power sources inside. When officials say it is safe, take the plastic down, open the room, and ventilate before moving through the rest of the house.
Shelter-in-Place Mistakes That Turn a Safe Room Into a Risk
Most shelter-in-place problems come from a few predictable decisions, and each one is easy to avoid once you know it.
The first is using the basement during a chemical release, which puts you exactly where heavier-than-air gases collect. The second is leaving the HVAC running, which actively pulls outside air into the house. The third is staying sealed far too long, past the point where carbon dioxide builds up and the plastic stops helping. The fourth is cutting plastic during the emergency rather than before, which wastes the minutes that matter. The fifth is keeping the kit in the garage or a closet across the house, where you cannot reach it once you are sealed in. Each of these is solved by the same quiet work: Choosing the rooms, cutting the plastic, and placing the kit now, so your home is ready before anything goes wrong.
FAQ
What Should Be in a Shelter-in-Place Kit?
A shelter-in-place kit should include one gallon of water per person per day for at least 72 hours, no-cook shelf-stable food, a NOAA hand-crank radio, headlamps and a battery lantern, a charged power bank, a first aid kit, at least a week of medications, and sanitation supplies such as a lidded bucket and plastic bags. Add the room-sealing supplies most kits forget: Heavy plastic sheeting pre-cut and labeled for each window, door, and vent, thick duct tape, scissors, and towels for door gaps.
How Long Should You Be Able to Shelter in Place?
Plan to shelter in place for at least 72 hours. The length depends on the threat: A sealed room during a chemical release is usually needed for only a few hours, and officials rarely recommend staying sealed longer than two to three hours. After a radiological event, stay inside for at least 24 hours unless officials say otherwise. Severe weather and other emergencies can keep you home for several days.
How much air does a sealed room have for sheltering in place?
Ten square feet of floor space per person provides enough air to prevent carbon dioxide buildup for up to five hours, assuming everyone is resting and breathing normally. A family of four needs at least 40 square feet, about the size of a small bathroom. Because air quality declines over time, remove the plastic and ventilate the room as soon as officials say the threat has passed.
Should I turn off my HVAC when sheltering in place?
Yes. Turn off the heating, air conditioning, and any fans or ventilation systems that bring outside air into the home, and close fireplace dampers. Leaving these running pulls potentially contaminated outside air into the house, which defeats the purpose of sheltering in place. Turn them back on only after officials announce it is safe.
What thickness of plastic sheeting do I need to shelter in place?
Official guidance ranges from 2 to 6 mil for the plastic sheeting, with thicker sheeting being more durable, and around 10 mil for the duct tape. Measure each window, door, and vent in your shelter room in advance, cut each sheet at least six inches wider than the opening on every side, and label every piece so the room can be sealed in minutes.