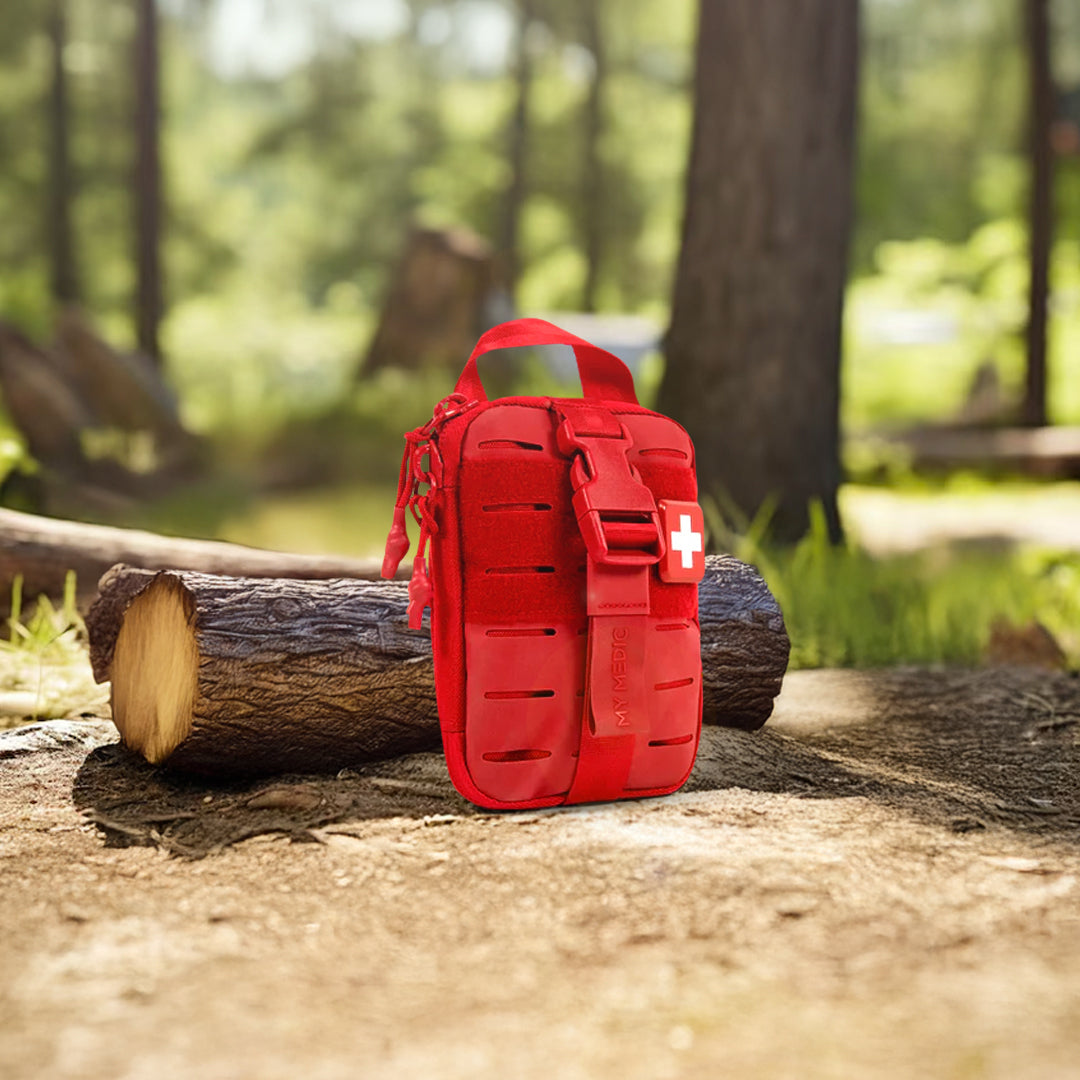
A disaster supply kit covers ten categories, kept where you will actually reach for them: water, food, light, power, first aid and medications, communication, sanitation, tools, warmth, and copies of important documents. Spread them room by room, with a grab-and-go bag by the door and a kit in the car, so each item is within reach even in the dark. A family-of-four kit runs about $300 to $600 for 72 hours.
A disaster supply kit is not one box in the back of a closet. The best ones are spread through the house, so each item lives where you will actually reach for it, with a grab-and-go bag by the door and a kit in the car. Organizing it room by room is how you make sure nothing is missing and everything is within reach, even in the dark. Here is the complete list, zone by zone, and what it costs to put together.
What Is in a Disaster Supply Kit?
The ten categories above are the easy part. What makes a kit actually work is where you keep them, because a flashlight in the garage does you no good when the power dies in the bedroom, and a go-bag buried behind the Christmas decorations is not a go-bag. Each zone below gets the items that zone is used for, so the thing you need is in the room you need it in. The room-by-room list places every item where you will reach for it.
The Room-by-Room Checklist, Zone by Zone
Keep like items together, in the zone where they get used. This is the full kit, distributed through the home.
|
Zone |
What to keep there |
Why it lives here |
|---|---|---|
|
Kitchen |
Stored water and a filter, no-cook shelf-stable food, a manual can opener, coolers, a lighter or matches, trash bags |
The water and food hub, and where meals get handled |
|
Bathroom |
First aid kit, a 30-day supply of medications, hygiene and sanitation supplies, extra toilet paper, a backup toilet plan |
Health, medications, and sanitation already live here |
|
Bedrooms |
A headlamp or flashlight and sturdy shoes by each bed, a whistle, spare glasses |
You need light and footwear the instant you wake to an emergency |
|
Living or central area |
A NOAA hand-crank and solar radio, a power station and power banks, lanterns, warm blankets |
The room everyone gathers in, and the information and power hub |
|
Garage or utility |
Bulk food and water storage, tools, a wrench to shut off gas or water, gloves, tarp, duct tape, a fire extinguisher, fuel stored safely |
The workshop and bulk-storage zone |
|
By the front door |
A grab-and-go bag per person: water, food bars, first aid, document copies, cash, flashlight, meds, a change of clothes, a charger |
If you have to evacuate, you grab it and go in seconds |
|
Vehicle |
A car kit: jump starter, tire tools, window breaker and seat belt cutter, blanket, water, food, first aid, flashlight, charger, cash |
Emergencies happen away from home too |
|
Documents (office or safe) |
IDs, insurance, medical records, and deeds in a waterproof folder, plus a contact list and cash |
The paperwork you cannot quickly replace |
The two anchors are the central-area hub and the go-bag by the door. Everything else supports one of those two: sheltering in place, or getting out. Build the pieces from Power & Light, First Aid, water storage and filtration, Food Rations, and Emergency Radios, or start with a ready-made survival kit.
How Much Should a Disaster Supply Kit Cost?
A basic disaster supply kit for a family of four costs roughly $300 to $600 built for 72 hours, or about $1,000 to $1,500 for a fuller two-week to 30-day setup, with the total driven mostly by how you handle food and power. A pre-made 72-hour kit runs about $50 to $150 per person, while building it yourself from bulk food and separate gear costs less and lets you tailor it. You do not need to spend it all at once.
The single biggest variables are food, which ranges from cheap bulk staples to premium freeze-dried, and power, which ranges from a power bank to a power station with solar. Spread the build over a few months, buying in priority order, and a complete kit comes together without a painful single expense. Browse ready-made options in the disaster preparedness collection and add to them over time.
How to Organize and Maintain a Disaster Supply Kit
A distributed kit only stays useful if it stays findable and current. These four habits are what keep it from quietly rotting into a pile of expired food and dead batteries:
-
Label the bins. Clear, labeled containers by zone mean anyone in the household can find what they need without digging.
-
Make sure everyone knows the layout. A kit only works if the whole household knows where the radio, the flashlights, and the go-bags are.
-
Check it twice a year. Rotate food and water, replace expired medications and batteries, recharge power banks, and test flashlights and the radio.
-
Keep the go-bag and car kit seasonal. Swap in warm layers for winter and adjust for summer heat, and update documents and medications as they change.
The Disaster Kit Mistakes That Leave You Digging in the Dark
Most kits fail in the same handful of ways, and none of them are about buying the wrong gear. They are about where it ends up and whether anyone keeps it current:
-
One giant box no one can carry. A single overloaded bin is useless in an evacuation. Distribute the kit and keep the go-bags light.
-
Burying it in the back of a closet. Gear you cannot reach quickly in the dark is gear you do not really have. Keep it accessible.
-
No go-bag and no car kit. A home kit only covers sheltering in place. You also need to be able to leave, and to handle an emergency on the road.
-
Forgetting documents, medications, and pets. These are the items people scramble for at the worst moment. Build them in from the start.
-
Never maintaining it. Expired food, dead batteries, and a flat power bank turn a complete-looking kit into a false sense of security.
A disaster supply kit is not a purchase, it is a small system built into your home. Place each piece where you will use it, keep the go-bag by the door and a kit in the car, and check it twice a year. Done that way, it disappears into the background, quiet and ready, so the day something goes wrong you already have what you need, right where you need it.
Frequently Asked Questions
Twelve gallons, at the standard one gallon per person per day, and more if it is hot or anyone is pregnant, ill, or nursing. That covers drinking and basic hygiene only, not flushing or bathing. Store it in the kitchen zone, add a filter so an interrupted or contaminated supply does not stop you, and freeze a few jugs so they double as ice for the fridge plan.
How much should a disaster supply kit cost?
A basic disaster supply kit for a family of four costs roughly $300 to $600 built for 72 hours, or about $1,000 to $1,500 for a fuller two-week to 30-day setup. A pre-made 72-hour kit runs about $50 to $150 per person, while building it yourself costs less and lets you tailor it. Food and power drive most of the cost, so you can start cheaper with bulk staples and a power bank, then upgrade. Spreading the build over a few months avoids a large single expense.
How long should a disaster supply kit last?
Start with at least 72 hours of supplies, the baseline for most storms and short outages, and build toward two weeks if you can, especially in regions prone to major disasters. Water and food scale directly with the number of days, at about one gallon of water per person per day and roughly 2,000 calories per person per day, while gear like light, radios, and first aid is a one-time set that serves any length of emergency.
What should be in a car emergency kit?
A jump starter, tire inflator and plug kit, a window breaker with a seat belt cutter, a blanket, water and food bars, a first aid kit, a flashlight, a phone charger, and cash. Add a shovel, traction aid, and warm layers in winter. Keep it in the trunk year-round rather than moving it in and out, because the emergencies it covers happen without warning.
What documents should be in a disaster supply kit?
Copies of IDs and passports, insurance policies, medical records and prescription lists, property deeds or lease, birth certificates, and a written contact list, kept in a waterproof folder with some cash. Keep the originals in a safe and the copies in the go-bag, and photograph everything to encrypted cloud storage as a third layer. These are the items people scramble for at the worst moment, so build them in from the start.